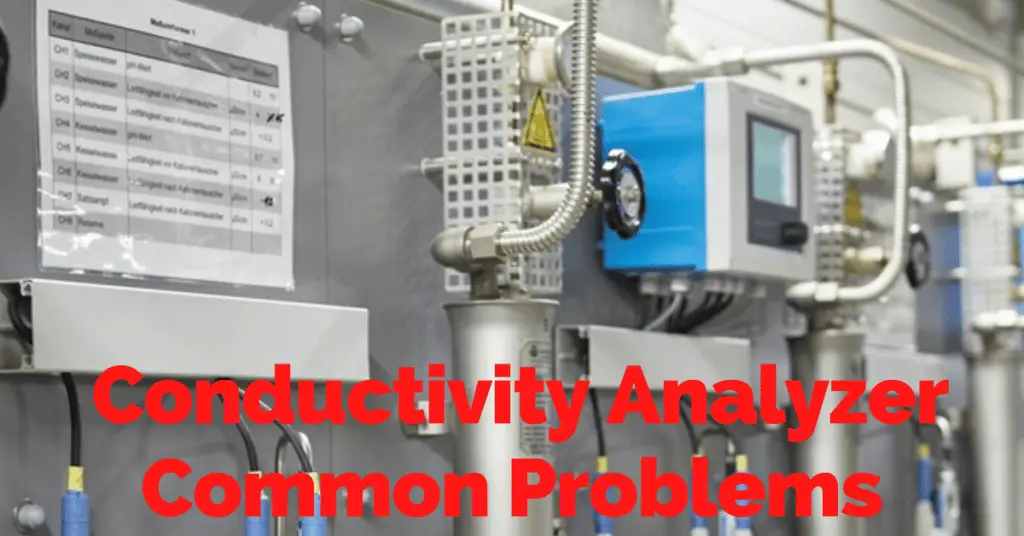
In this article, we will discuss troubleshooting conductivity analyzer Common Problems. Conductivity analyzer is the one of the most commonly used process analyzer used mainly in knowing the quality of the water. Accurate measurement of conductivity is very important to maintain the quality of the water. If the conductivity of the water is not maintained, then the water will cause corrosion and depositions on the associated equipment. Also, the downstream plants utilizing this water will also have problem in functioning as per design.
Conductivity Analyzer Common Problems
Some common problems in conductivity analyzer are :

Let us see the troubleshooting guidelines for the problems mentioned in the above chart for conductivity analyzer.
Follow the below-mentioned steps to troubleshoot the conductivity Analyzer problems.
1. Conductivity Analyzer in power off condition
If the conductivity analyzer is in power off condition, then check the voltage on field side. If voltage is ok, then the display will be faulty. Replace the display. If no voltage if there, then the fuse installed in the marshalling cabinet can be in blown condition. Replace the fuse. If fuse is ok, then check all the cable connections. Do proper connections and no connection should be corroded. Also, lugs should be proper. All connections should be tight.
2. Conductivity value mismatch in field and PLC/DCS
In case of value mismatch between the field and the PLC/DCS, check the range on both sides. If the range on both sides do not match, then the values in the field as well as on the PLC/DCS will not match. Also, if force is present in field conductivity transmitter or the PLC/DCS, then definitely the values in field and PLC/DCS will not match. Remove force after following proper procedure for force restoration
3. Conductivity analyzer not showing proper value
- First thing to check verify the sample. Maintain a proper sample flow as directed in the vendor manual.
- The sample to the conductivity analyzer should be without air bubbles. Ensure no air bubble is present in the sample of the conductivity analyzer.
- Check all the tube connections. No leakage should be there on the fitting side. Also, no tube should be in punctured condition. Attend the leakage if found.
- The tubes can be chocked from inside. Do flushing or dechoke the tube using the pressure pump. Use pressurized fluid with pressure of maximum 1.5 times than that of the process fluid.
- Check the conductivity probe’s response in atmosphere. The conductivity analyzer should show 0 conductivity in atmosphere.
- Check the mA range or analog output range.
- Check all the necessary configurations like LRV, URV, mA range, device address if any as per the datasheet of the DP type flow transmitter. Also check the cell constant value which is very important parameter for every conductivity probe.
4. Conductivity analyzer value fluctuating
- Check for the sample tube leakages. Minor tube leakage will also cause the fluctuation in reading of the conductivity. Attend the leakage.
- Ensure the sample flow to the conductivity analyzer is as per the flow mentioned in the vendor manual. Also, the sample flow should not have air bubbles.
- The sample flow should be steady.
- Increase the damping factor in the conductivity analyzer if the fluctuations are very high.